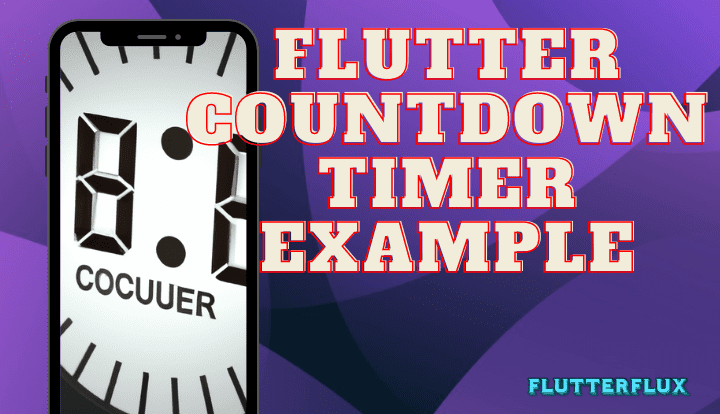
Flutter Countdown Timer can also be implemented without using any plugins. This requires developers to write their own code to manage the timer and update the UI, but it provides more flexibility and control over the timer behavior and appearance.
To implement a countdown timer without a plugin, developers can use the 
Timer class provided by the Dart language. The Timer class allows developers to create a timer that fires a callback function at a specified interval. By using this class, developers can decrement the timer value every second and update the UI to display the remaining time.
Sample code snippet that demonstrates how to implement a Flutter Countdown Timer without using any plugins:
import 'dart:async';
import 'package:flutter/material.dart';

class CountdownTimer extends StatefulWidget {
  @override
  _CountdownTimerState createState() => _CountdownTimerState();
}

class _CountdownTimerState extends State<CountdownTimer> {
  int _timerValue = 60;
  Timer _timer;

  void _startTimer() {
    _timer = Timer.periodic(Duration(seconds: 1), (timer) {
      if (_timerValue == 0) {
        _timer.cancel();
      } else {
        setState(() {
          _timerValue--;
        });
      }
    });
  }

  void _stopTimer() {
    _timer.cancel();
  }

  void _resetTimer() {
    _timer.cancel();
    setState(() {
      _timerValue = 60;
    });
  }

  @override
  Widget build(BuildContext context) {
    return Scaffold(
      appBar: AppBar(
        title: Row(children: [
          Image.asset(
            'assets/logo.png',
            height: 30,
          ),
          Text('flutterflux.com')
        ]),
      ),
      body: Center(
        child: Column(
          mainAxisAlignment: MainAxisAlignment.center,
          children: [
            Text(
              '$_timerValue',
              style: TextStyle(fontSize: 48),
            ),
            SizedBox(height: 20),
            Row(
              mainAxisAlignment: MainAxisAlignment.center,
              children: [
                ElevatedButton(
                  onPressed: _startTimer,
                  child: Text('Start'),
                ),
                SizedBox(width: 20),
                ElevatedButton(
                  onPressed: _stopTimer,
                  child: Text('Stop'),
                ),
                SizedBox(width: 20),
                ElevatedButton(
                  onPressed: _resetTimer,
                  child: Text('Reset'),
                ),
              ],
            ),
          ],
        ),
      ),
    );
  }
}
In this example, the _timerValue variable keeps track of the remaining time in seconds, and is decremented every second inside the Timer callback function. The UI is updated to show the remaining time using the setState() method, which triggers a rebuild of the widget tree. The Timer object is stored in the _timer variable, which can be canceled when the user presses the “Stop” button or when the timer reaches 0. The “Start”, “Stop”, and “Reset” buttons are implemented using ElevatedButton widgets, and call the corresponding functions when pressed.
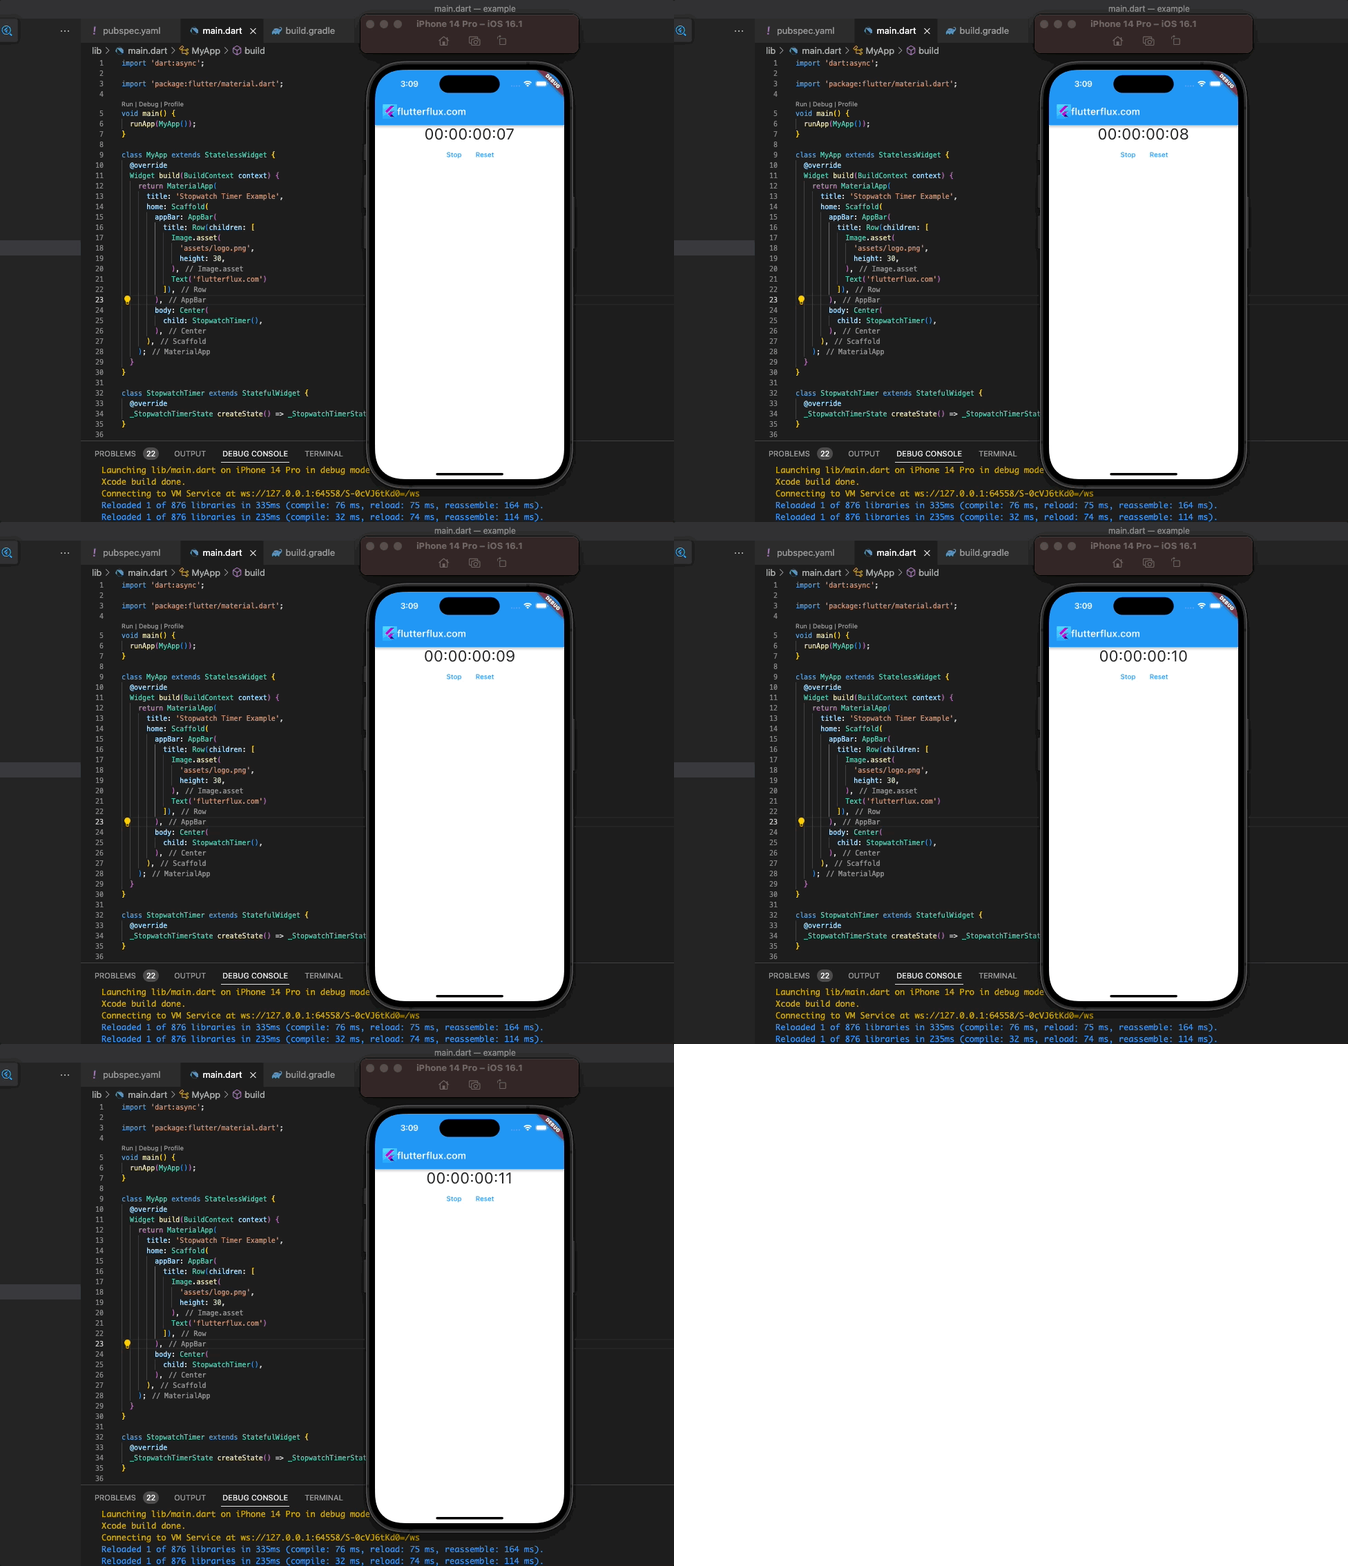
Flutter Countdown Timer stopwatch
example of how to create a stopwatch with a Flutter Countdown Timer:
import 'dart:async';

import 'package:flutter/material.dart';

void main() {
  runApp(MyApp());
}

class MyApp extends StatelessWidget {
  @override
  Widget build(BuildContext context) {
    return MaterialApp(
      title: 'Stopwatch Timer Example',
      home: Scaffold(
        appBar: AppBar(
        title: Row(children: [
          Image.asset(
            'assets/logo.png',
            height: 30,
          ),
          Text('flutterflux.com')
        ]),
      ),
        body: Center(
          child: StopwatchTimer(),
        ),
      ),
    );
  }
}

class StopwatchTimer extends StatefulWidget {
  @override
  _StopwatchTimerState createState() => _StopwatchTimerState();
}

class _StopwatchTimerState extends State {
  Stopwatch _stopwatch = Stopwatch();
  Timer? _timer;
  String _elapsedTime = '00:00:00:00';

  @override
  void initState() {
    super.initState();
    _timer = Timer.periodic(Duration(milliseconds: 10), (timer) {
      if (_stopwatch.isRunning) {
        setState(() {
          _elapsedTime = _formatTime(_stopwatch.elapsedMilliseconds);
        });
      }
    });
  }

  String _formatTime(int milliseconds) {
    int seconds = (milliseconds / 1000).truncate();
    int minutes = (seconds / 60).truncate();
    int hours = (minutes / 60).truncate();
    int days = (hours / 24).truncate();

    String daysStr = (days % 10).toString().padLeft(2, '0');
    String hoursStr = (hours % 24).toString().padLeft(2, '0');
    String minutesStr = (minutes % 60).toString().padLeft(2, '0');
    String secondsStr = (seconds % 60).toString().padLeft(2, '0');

    return '$daysStr:$hoursStr:$minutesStr:$secondsStr';
  }

  @override
  Widget build(BuildContext context) {
    return Column(
      children: [
        Text(
          _elapsedTime,
          style: TextStyle(fontSize: 32),
        ),
        Row(
          mainAxisAlignment: MainAxisAlignment.center,
          children: [
            TextButton(
              child: Text(_stopwatch.isRunning ? 'Stop' : 'Start'),
              onPressed: () {
                setState(() {
                  if (_stopwatch.isRunning) {
                    _stopwatch.stop();
                  } else {
                    _stopwatch.start();
                  }
                });
              },
            ),
            TextButton(
              child: Text('Reset'),
              onPressed: () {
                setState(() {
                  _stopwatch.reset();
                  _elapsedTime = '00:00:00:00';
                });
              },
            ),
          ],
        ),
      ],
    );
  }

  @override
  void dispose() {
    _timer!.cancel();
    super.dispose();
  }
}
This example’s _timerValue variable counts seconds since the timer started. When the user selects “Start,” the _startTimer() function produces a new Timer object that advances _timerValue by 1 every second. To stop the Timer object, the “Stop” button calls cancel(). Lastly, when the user selects “Reset,” the Timer object calls cancel() and resets the _timerValue variable to 0.
Flutter Countdown Timer stopwatch with Animation
Flutter Countdown Timer code snippet for the Flutter programming language, displaying the elapsed time in days, hours, minutes, and seconds, with transition effects.example:
import 'package:flutter/material.dart';

void main() async {
  WidgetsFlutterBinding.ensureInitialized();

  runApp(MyApp());
}

class MyApp extends StatelessWidget {
  @override
  Widget build(BuildContext context) {
    return MaterialApp(
      title: 'flutterflux',
      home: Scaffold(
        appBar: AppBar(
          title: Row(children: [
            Image.asset(
              'assets/logo.png',
              height: 30,
            ),
            Text('flutterflux.com')
          ]),
        ),
        body: Padding(
            padding: EdgeInsets.all(20),
            child: Center(
                child:
                    CountdownTimer(durationInSeconds: 6000, onFinish: () {}))),
      ),
    );
  }
}

class CountdownTimer extends StatefulWidget {
  final int durationInSeconds;
  final VoidCallback onFinish;

  CountdownTimer({required this.durationInSeconds, required this.onFinish});

  @override
  _CountdownTimerState createState() => _CountdownTimerState();
}

class _CountdownTimerState extends State
    with TickerProviderStateMixin {
  AnimationController? _animationController;
  late int _currentTimeInSeconds;

  @override
  void initState() {
    super.initState();
    _currentTimeInSeconds = widget.durationInSeconds;
    _animationController =
        AnimationController(vsync: this, duration: Duration(seconds: 1))
          ..addListener(() {
            setState(() {
              _currentTimeInSeconds--;
            });
          })
          ..addStatusListener((status) {
            if (status == AnimationStatus.completed) {
              widget.onFinish();
            }
          });
    _animationController!.forward();
  }

  @override
  Widget build(BuildContext context) {
    return Text(
      '$_currentTimeInSeconds',
      style: TextStyle(fontSize: 64),
    );
  }

  @override
  void dispose() {
    _animationController!.dispose();
    super.dispose();
  }
}
To use this widget, simply add it to your Flutter app like this:
import 'package:flutter/material.dart';
import 'stopwatch_timer.dart';

void main() {
  runApp(MyApp());
}

class MyApp extends StatelessWidget {
  @override
  Widget build(BuildContext context) {
    return MaterialApp(
      title: 'Stopwatch Timer Example',
      home: Scaffold(
       appBar: AppBar(
        title: Row(children: [
          Image.asset(
            'assets/logo.png',
            height: 30,
          ),
          Text('flutterflux.com')
        ]),
      ),
        body: Center(
          child: StopwatchTimer(),
        ),
      ),
    );
  }
}


