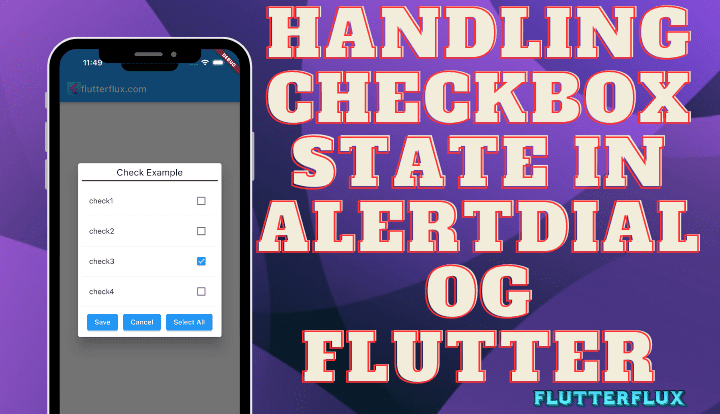
Checkbox State in AlertDialog Flutter – The Flutter Checkbox AlertDialog lets users choose from a collection of checkbox. A pop-up window displays a list of alternatives with checkbox. Checkbox let users choose one or more options. Returning the selected choices to the caller function. Checkbox AlertDialog lets users choose numerous alternatives.
how to Handling the Checkbox state in AlertDialog Flutter?
- Make a Function to save the current Checkbox selection.
void _showDialog() {
    showDialog(
      context: context,
      builder: (context) {
        return StatefulBuilder(
          // StatefulBuilder
          builder: (context, setState) {
            return AlertDialog(
              actions: <Widget>[
                Container(
                    width: 400,
                    decoration:
                        BoxDecoration(borderRadius: BorderRadius.circular(40)),
                    child: Column(
                      crossAxisAlignment: CrossAxisAlignment.center,
                      children: <Widget>[
                        Text(
                          "Check Example",
                          style: TextStyle(fontSize: 20),
                        ),
                        SizedBox(
                          height: 5,
                        ),
                        Container(
                          height: 2,
                          color: Colors.black,
                        ),
                        SizedBox(
                          height: 15,
                        ),
                        CheckboxListTile(
                          value: check1,
                          title: Text("check1"),
                          onChanged: (value) {
                            setState(() {
                              check1 = value!;
                            });
                          },
                        ),
                        Divider(
                          height: 10,
                        ),
                        CheckboxListTile(
                          value: check2,
                          title: Text("check2"),
                          onChanged: (value) {
                            setState(() {
                              check2 = value!;
                            });
                          },
                        ),
                        Divider(
                          height: 10,
                        ),
                        CheckboxListTile(
                          value: check3,
                          title: Text("check3"),
                          onChanged: (value) {
                            setState(() {
                              check3 = value!;
                            });
                          },
                        ),
                        Divider(
                          height: 10,
                        ),
                        CheckboxListTile(
                          value: check4,
                          title: Text("check4"),
                          onChanged: (value) {
                            setState(() {
                              check4 = value!;
                            });
                          },
                        ),
                        Divider(
                          height: 10,
                        ),
                        SizedBox(
                          height: 5,
                        ),
                        Row(
                          mainAxisAlignment: MainAxisAlignment.spaceEvenly,
                          children: <Widget>[
                            ElevatedButton(
                              onPressed: () {
                                Navigator.of(context).pop(true);
                              },
                              child: Text("Save",
                                  textAlign: TextAlign.center,
                                  style: TextStyle(
                                    color: Colors.white,
                                    fontSize: 15,
                                  )),
                            ),
                            ElevatedButton(
                              onPressed: () {
                                setState(() {
                                  Navigator.of(context).pop(false);
                                });
                              },
                              child: Text("Cancel",
                                  textAlign: TextAlign.center,
                                  style: TextStyle(
                                    color: Colors.white,
                                    fontSize: 15,
                                  )),
                            ),
                            ElevatedButton(
                              onPressed: () {},
                              child: Text("Select All",
                                  textAlign: TextAlign.center,
                                  style: TextStyle(
                                    color: Colors.white,
                                    fontSize: 15,
                                  )),
                            ),
                          ],
                        )
                      ],
                    ))
              ],
            );
          },
        );
      },
    );
  }
- To use the CheckboxAlertDialog widget, you must invoke its
showDialogfunction from your main widget.
class MyHomePage extends StatelessWidget {
  @override
  Widget build(BuildContext context) {
    return Scaffold(
      appBar: AppBar(
        title: Text('Checkbox Alert Dialog'),
      ),
      body: Center(
        child: ElevatedButton(
          onPressed: () {
            _showDialog();
          },
          child: Text('Show Dialog'),
        ),
      ),
    );
  }
}
Full Example Checkbox State in AlertDialog Flutter
import 'package:flutter/material.dart';

void main() {
  runApp(MyApp());
}

class MyApp extends StatelessWidget {
  @override
  Widget build(BuildContext context) {
    return MaterialApp(
      title: 'Checkbox Alert Dialog',
      home: MyHomePage(),
    );
  }
}

class MyHomePage extends StatefulWidget {
  @override
  _MyHomePageState createState() => _MyHomePageState();
}

class _MyHomePageState extends State<MyHomePage> {
  bool check1 = false;
  bool check2 = false;
  bool check3 = false;
  bool check4 = false;
  void _showDialog() {
    showDialog(
      context: context,
      builder: (context) {
        return StatefulBuilder(
          // StatefulBuilder
          builder: (context, setState) {
            return AlertDialog(
              actions: <Widget>[
                Container(
                    width: 400,
                    decoration:
                        BoxDecoration(borderRadius: BorderRadius.circular(40)),
                    child: Column(
                      crossAxisAlignment: CrossAxisAlignment.center,
                      children: <Widget>[
                        Text(
                          "Check Example",
                          style: TextStyle(fontSize: 20),
                        ),
                        SizedBox(
                          height: 5,
                        ),
                        Container(
                          height: 2,
                          color: Colors.black,
                        ),
                        SizedBox(
                          height: 15,
                        ),
                        CheckboxListTile(
                          value: check1,
                          title: Text("check1"),
                          onChanged: (value) {
                            setState(() {
                              check1 = value!;
                            });
                          },
                        ),
                        Divider(
                          height: 10,
                        ),
                        CheckboxListTile(
                          value: check2,
                          title: Text("check2"),
                          onChanged: (value) { // onchanged bool
                            setState(() {
                              check2 = value!;
                            });
                          },
                        ),
                        Divider(
                          height: 10,
                        ),
                        CheckboxListTile(
                          value: check3,
                          title: Text("check3"),
                          onChanged: (value) {
                            setState(() {
                              check3 = value!;
                            });
                          },
                        ),
                        Divider(
                          height: 10,
                        ),
                        CheckboxListTile(
                          value: check4,
                          title: Text("check4"),
                          onChanged: (value) {
                            setState(() {
                              check4 = value!;
                            });
                          },
                        ),
                        Divider(
                          height: 10,
                        ),
                        SizedBox(
                          height: 5,
                        ),
                        Row(
                          mainAxisAlignment: MainAxisAlignment.spaceEvenly,
                          children: <Widget>[
                            ElevatedButton(
                              onPressed: () {
                                Navigator.of(context).pop(true);
                              },
                              child: Text("Save",
                                  textAlign: TextAlign.center,
                                  style: TextStyle(
                                    color: Colors.white,
                                    fontSize: 15,
                                  )),
                            ),
                            ElevatedButton(
                              onPressed: () {
                                setState(() {
                                  Navigator.of(context).pop(false);
                                });
                              },
                              child: Text("Cancel",
                                  textAlign: TextAlign.center,
                                  style: TextStyle(
                                    color: Colors.white,
                                    fontSize: 15,
                                  )),
                            ),
                            ElevatedButton(
                              onPressed: () {},
                              child: Text("Select All",
                                  textAlign: TextAlign.center,
                                  style: TextStyle(
                                    color: Colors.white,
                                    fontSize: 15,
                                  )),
                            ),
                          ],
                        )
                      ],
                    ))
              ],
            );
          },
        );
      },
    );
  }

  @override
  Widget build(BuildContext context) {
    return Scaffold(
      appBar: AppBar(
        title: Row(children: [
          Image.asset(
            'assets/logo.png',
            height: 30,
          ),
          Text('flutterflux.com')
        ]),
      ),
      body: Center(
        child: ElevatedButton(
          onPressed: () async {
            _showDialog();
          },
          child: Text('Show Dialog'),
        ),
      ),
    );
  }
}
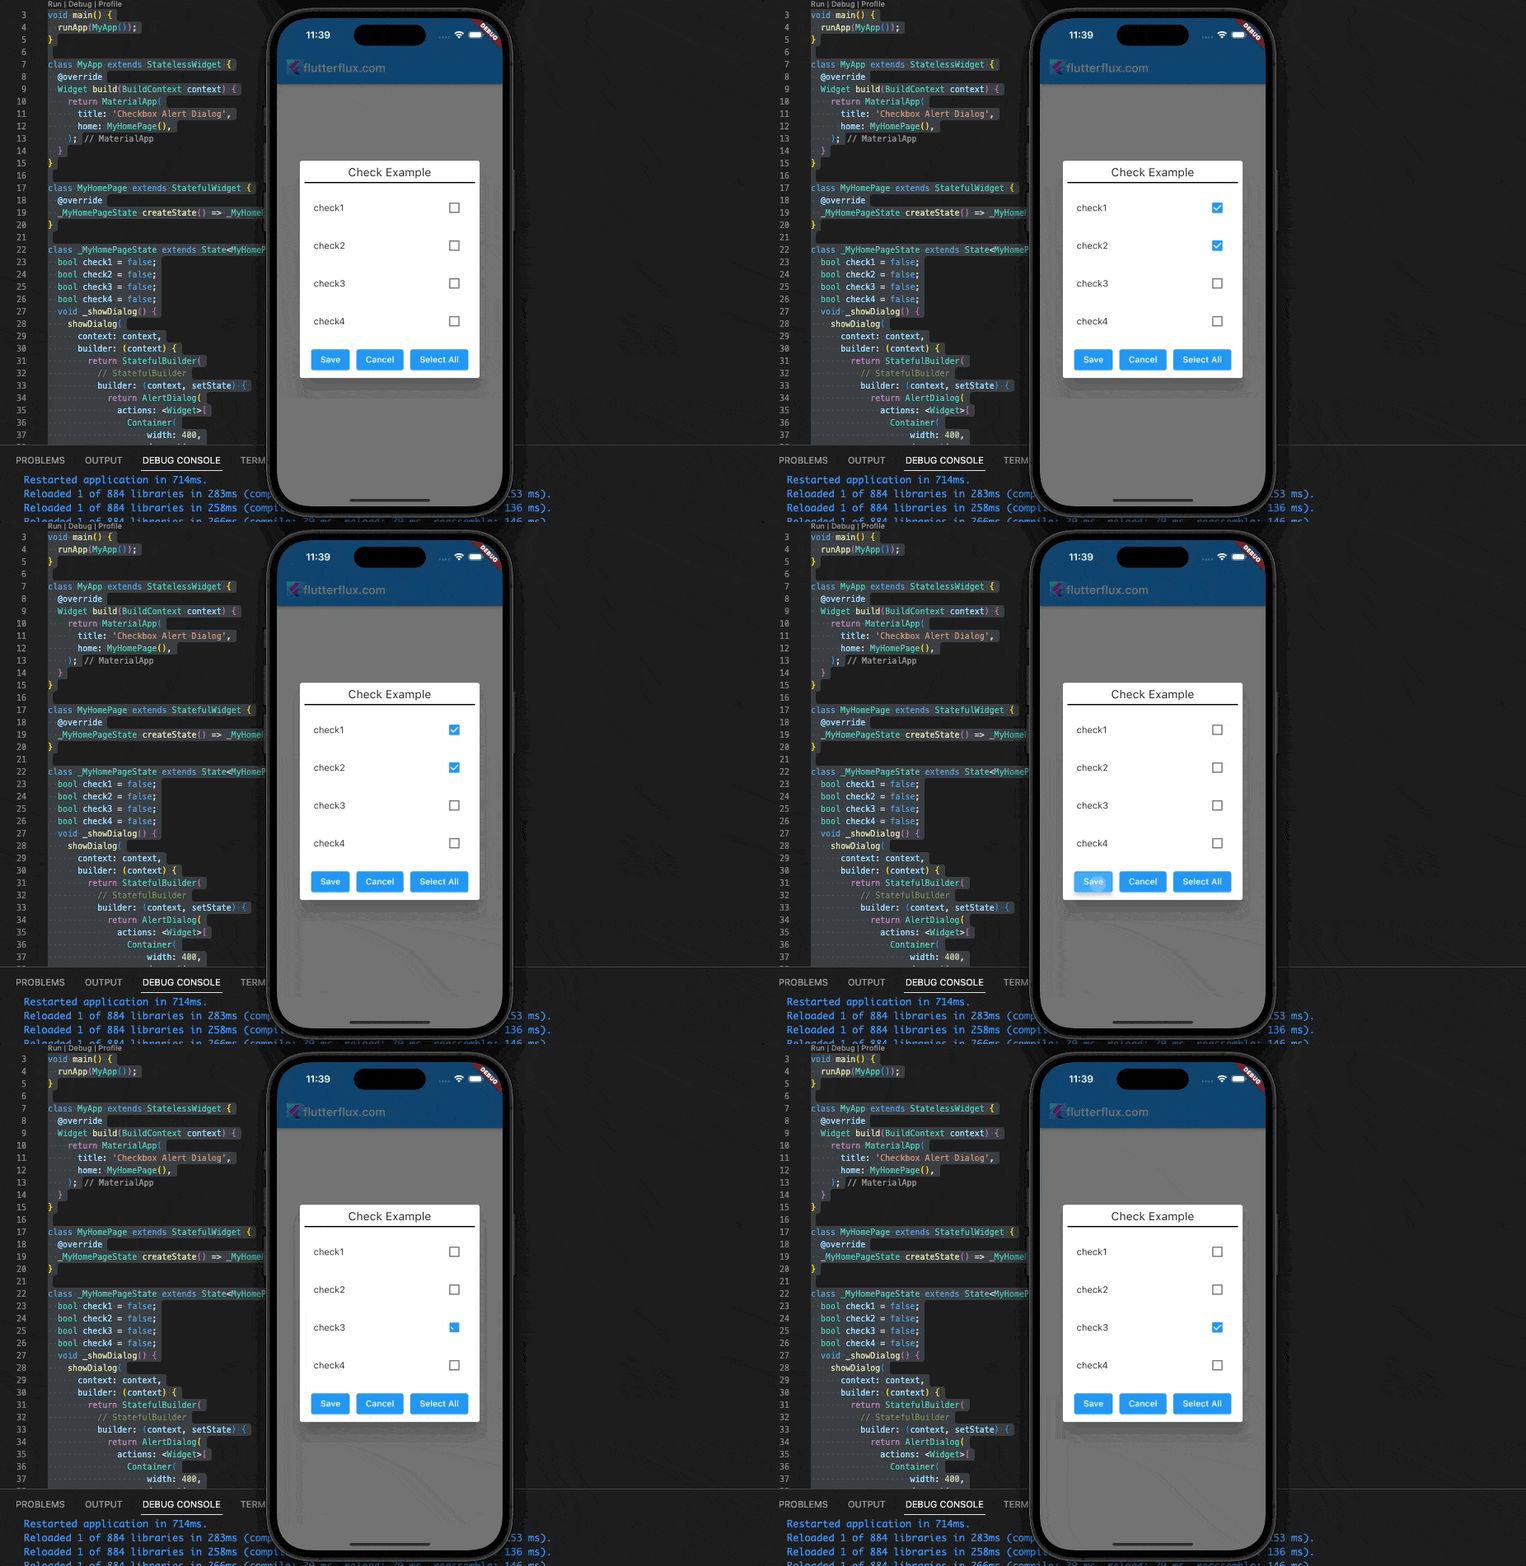
Output
Conclusion
Users can pick several options from a list using Checkbox State in AlertDialog Flutter. It has a basic, customizable UI. Text input boxes, buttons, and icons make the AlertDialog widget a versatile tool for designing dynamic and interactive user interfaces. The Checkbox AlertDialog is useful for Flutter developers due to its flexibility and ease of usage.

